




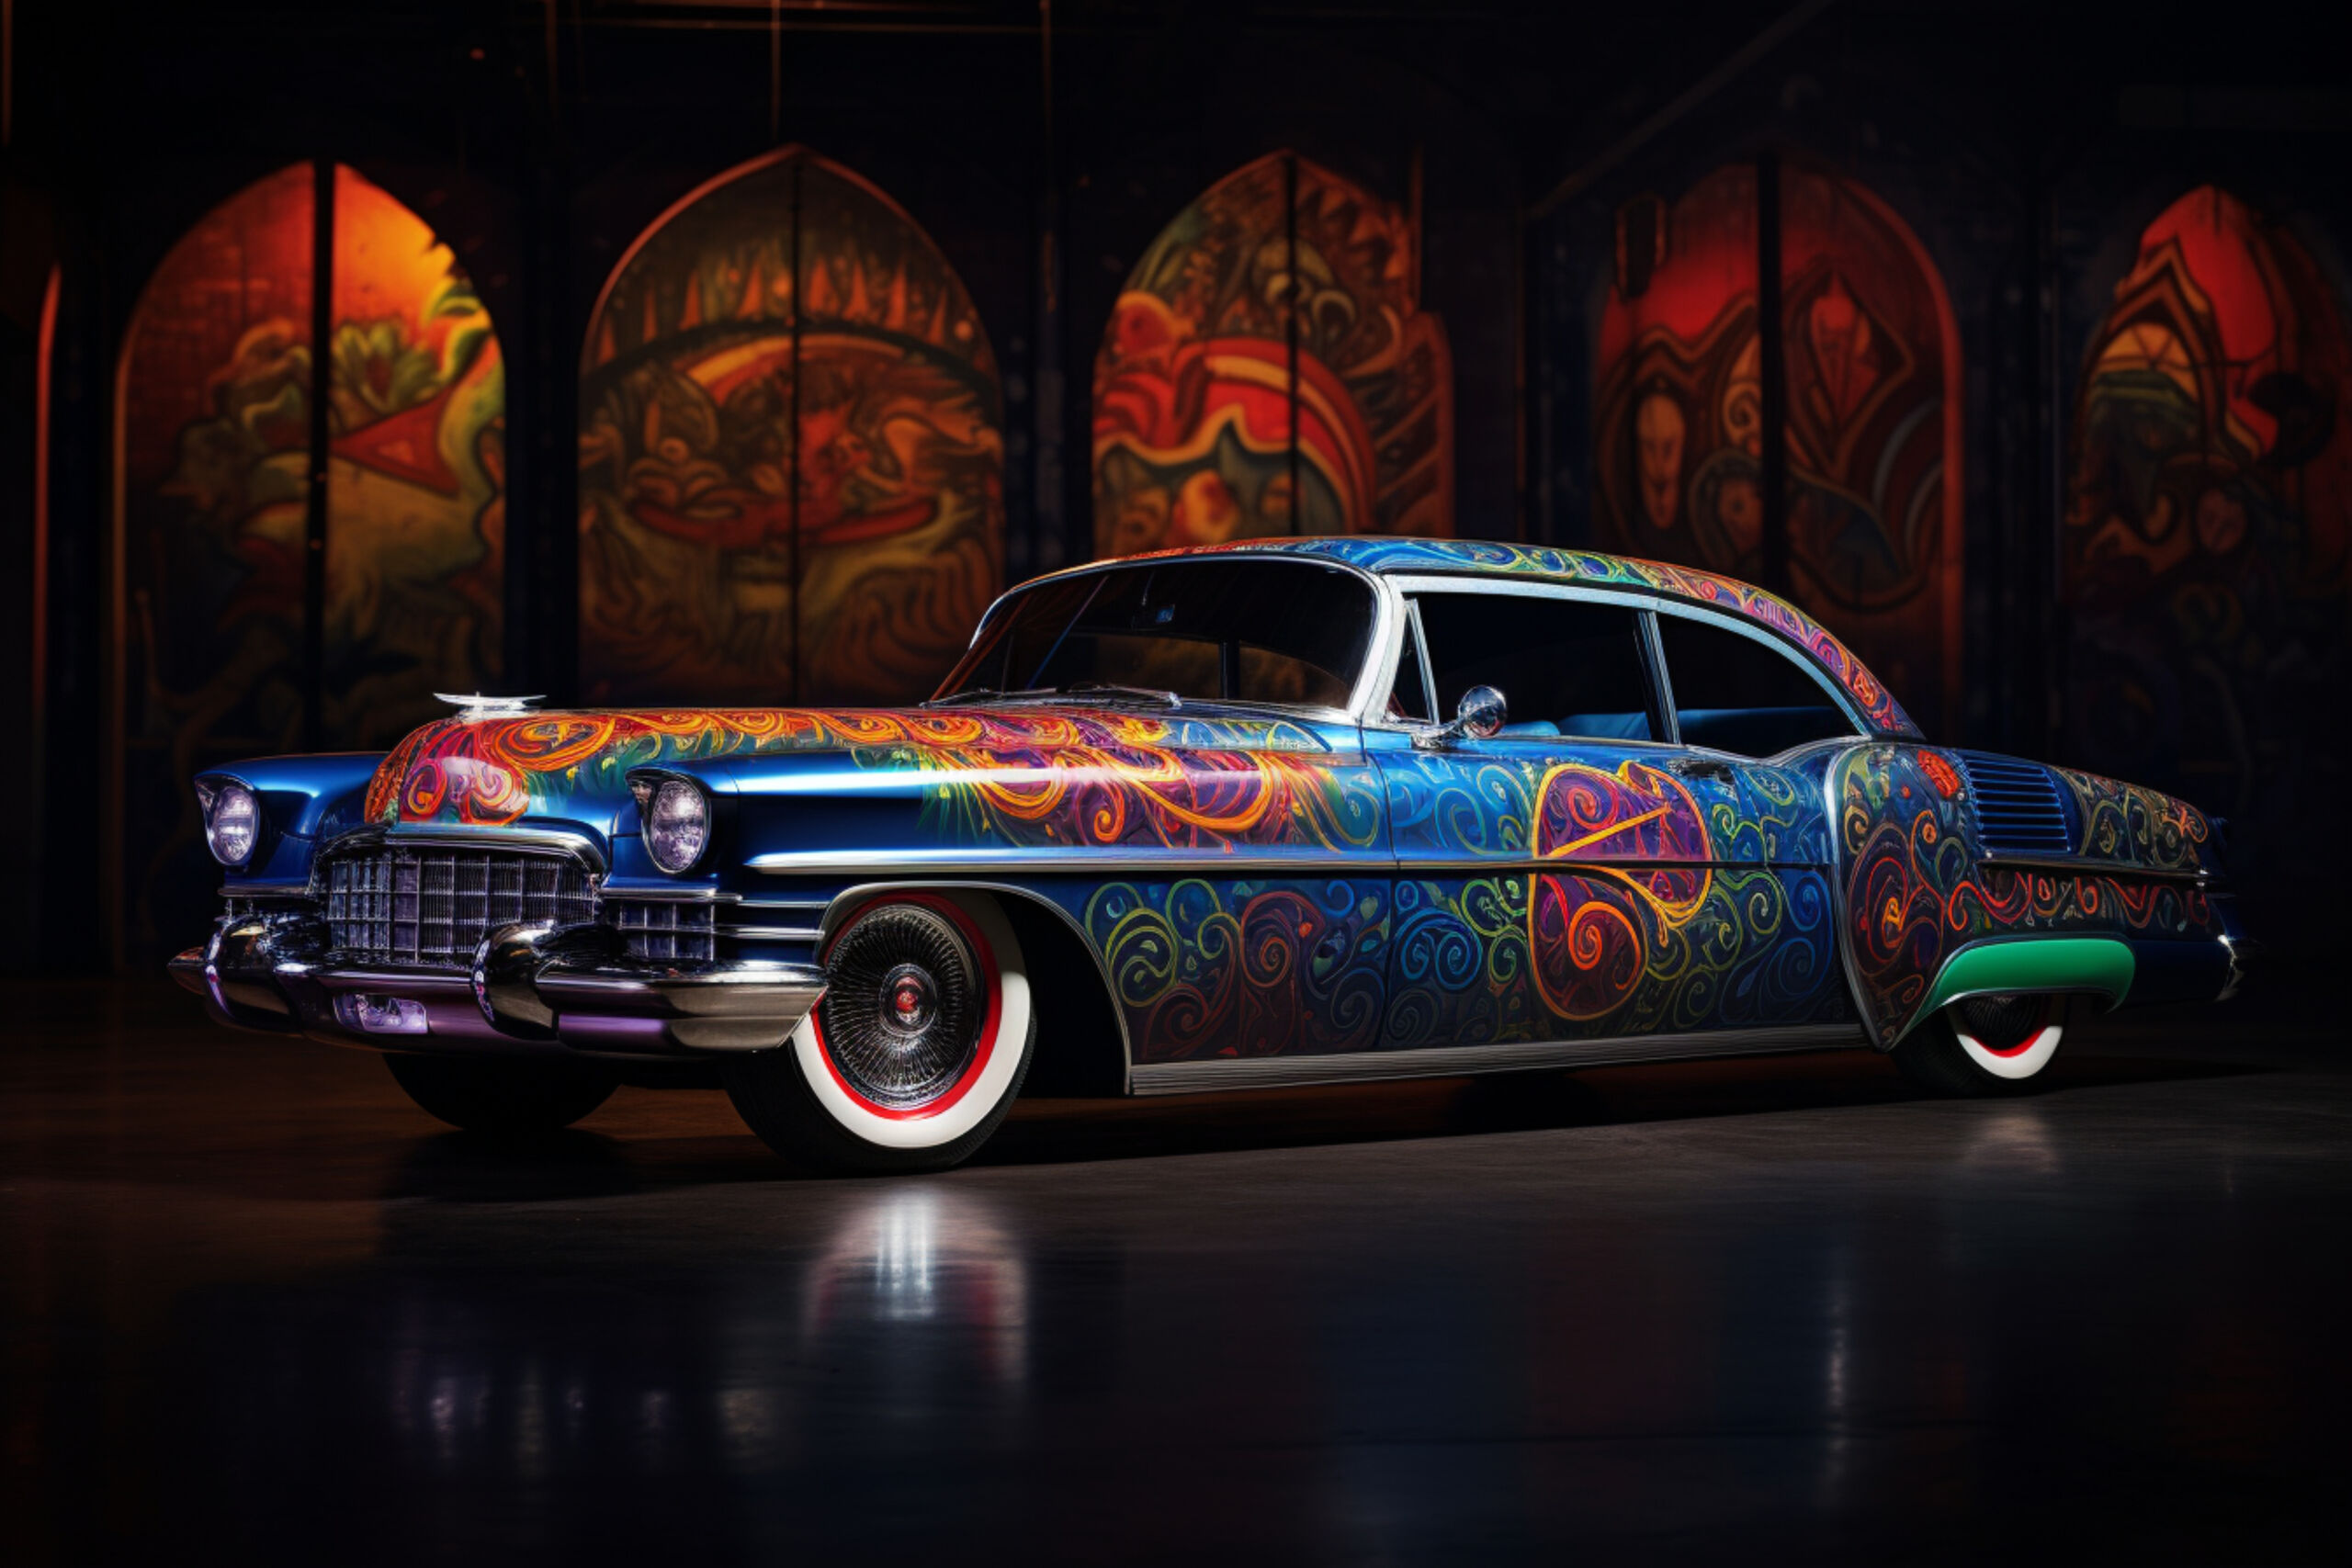
There is a specific kind of magic that happens when a lowrider hits the asphalt under the bright lights of a car show. It’s not just about the hydraulic hop or the depth of the candy paint; it’s about the hundreds of hours spent in the garage finally meeting the public eye.
Whether you’re heading to a local meet or a major sanctioned event,
Getting your ride “show ready” is a marathon, not a sprint. Here is how to handle the prep, the trek, and the trophy hunt.
Phase 1: The Deep Prep (One Week Out)
The week before the show is for the details that people only notice if they’re missing.
The “Toothbrush” Clean: Go beyond the bucket and sponge. Use a soft-bristled brush to clean the logos, the crevices of the wire wheels, and the door jambs.
Engine Bay Etiquette: If you’re popping the hood, the engine needs to be spotless. Degrease the block, polish any chrome or billet aluminum, and ensure your wiring is tucked and tidy.
The Undercarriage: For lowriders, the “belly of the beast” matters. If you have a mirrored display, every hydraulic line and suspension arm needs to be wiped down.
Interior Revival: Condition the leather or velvet. Vacuum the deep pile carpet and ensure the dash is dust-free. If you have a custom sound system, check all your connections—you don’t want a blown fuse when it’s time to show off the setup.
Phase 2: The Essentials Bag (What to Bring)
Never show up empty-handed. Pack a “Show Kit” in your trunk:
Quick Detailer & Microfibers: For wiping away fingerprints and road dust.
Glass Cleaner: Specifically for mirrors and windows to remove streaks.
Tire Shine: Apply this last, once you are parked at the venue.
Small Tool Kit: Zip ties, electrical tape, and a few wrenches for emergency adjustments.
Comfort Gear: A high-quality folding chair, a cooler with water, and plenty of sunscreen.
Phase 3: The Road and Arrival
The drive to the show is often the most stressful part. You’re navigating potholes and debris in a rolling piece of art.
The Route: Map it out beforehand. Avoid areas with heavy construction, gravel roads, or massive speed bumps that could challenge your clearance.
Staging: Arrive early. This gives you the best choice of lighting and ensures you aren’t rushing your final wipe-down.
The Setup: Once you’re parked, set your stance. Whether you’re “laid out” on the frame or locked up in a three-wheel motion, make sure it’s stable. Place your display signs and mirrors strategically to highlight the chrome work underneath.
Phase 4: During the Show
Be an Ambassador: People will ask about the paint, the year, and the build. Sharing the story of the car is half the fun.
Monitor the Crowd: Keep a polite eye on “lookers” who might get a little too close with belt buckles or bags.
Network: Talk to other builders. The lowrider community is built on respect and shared knowledge; you might pick up a lead on a rare part or a better chrome shop.
Phase 5: The Aftermath
Once the trophies are handed out and the sun starts to set, the job isn’t quite over.
The Cool Down: Check your temps and fluid levels before heading out, especially if you’ve been idling or running the pumps for the crowd.
Post-Show Wash: Road grime from the trip home can sit and bake on. Give it a gentle rinse to remove any salt or dust picked up on the highway.
The Log: Take a mental (or physical) note of what worked. Did you wish you had a better umbrella? Did people ask a question you didn’t have the answer to? Use it to make the next show even better.
The Bottom Line: A lowrider isn’t just a car; it’s a statement of patience and pride. When you put in the work before the gates open, the rest of the day is just about enjoying the cruise.
